About This Project

A 30–60 minutes craft for ages 6–12, using supplies you likely already have — Pencils, Fresh Flowers, and Watercolor Paint.

GlueStick supports kids from setup to cleanup. After they choose a project, we guide them through gathering the supplies, making it, and cleaning up when they're done. We'll even help them share it safely with trusted family and friends.

Ad-free and kid-safe library — designed by a mom who wants kids to explore and create independently.

Project Tags
  1. 1

    Find Supplies

    Do you have everything you need?
    Create a free GlueStick account to track supplies and see if you have what you need at a glance. Leave your kids tips about where supplies are stored in your household so they can set up and clean up their creative spaces independently.
    00:00
    A cartoon of Pencils
    Unknown cupboard quantity You have: unknown
    A cartoon of Fresh Flowers
    Unknown cupboard quantity You have: unknown
    Allergen
    A cartoon of Watercolor Paint
    Unknown cupboard quantity You have: unknown
    A cartoon of Paper
    Unknown cupboard quantity You have: unknown
  2. 2

    Make Mary Vaux Walcott Wildflower Adventure

    Your creative buddy says:
    "Are you as excited to make this as I am?"

    Heads up! Some supplies may trigger allergies. Check with a grown-up before using them.

    Step 1: Find flowers in your neighborhood

    May need grown-up help
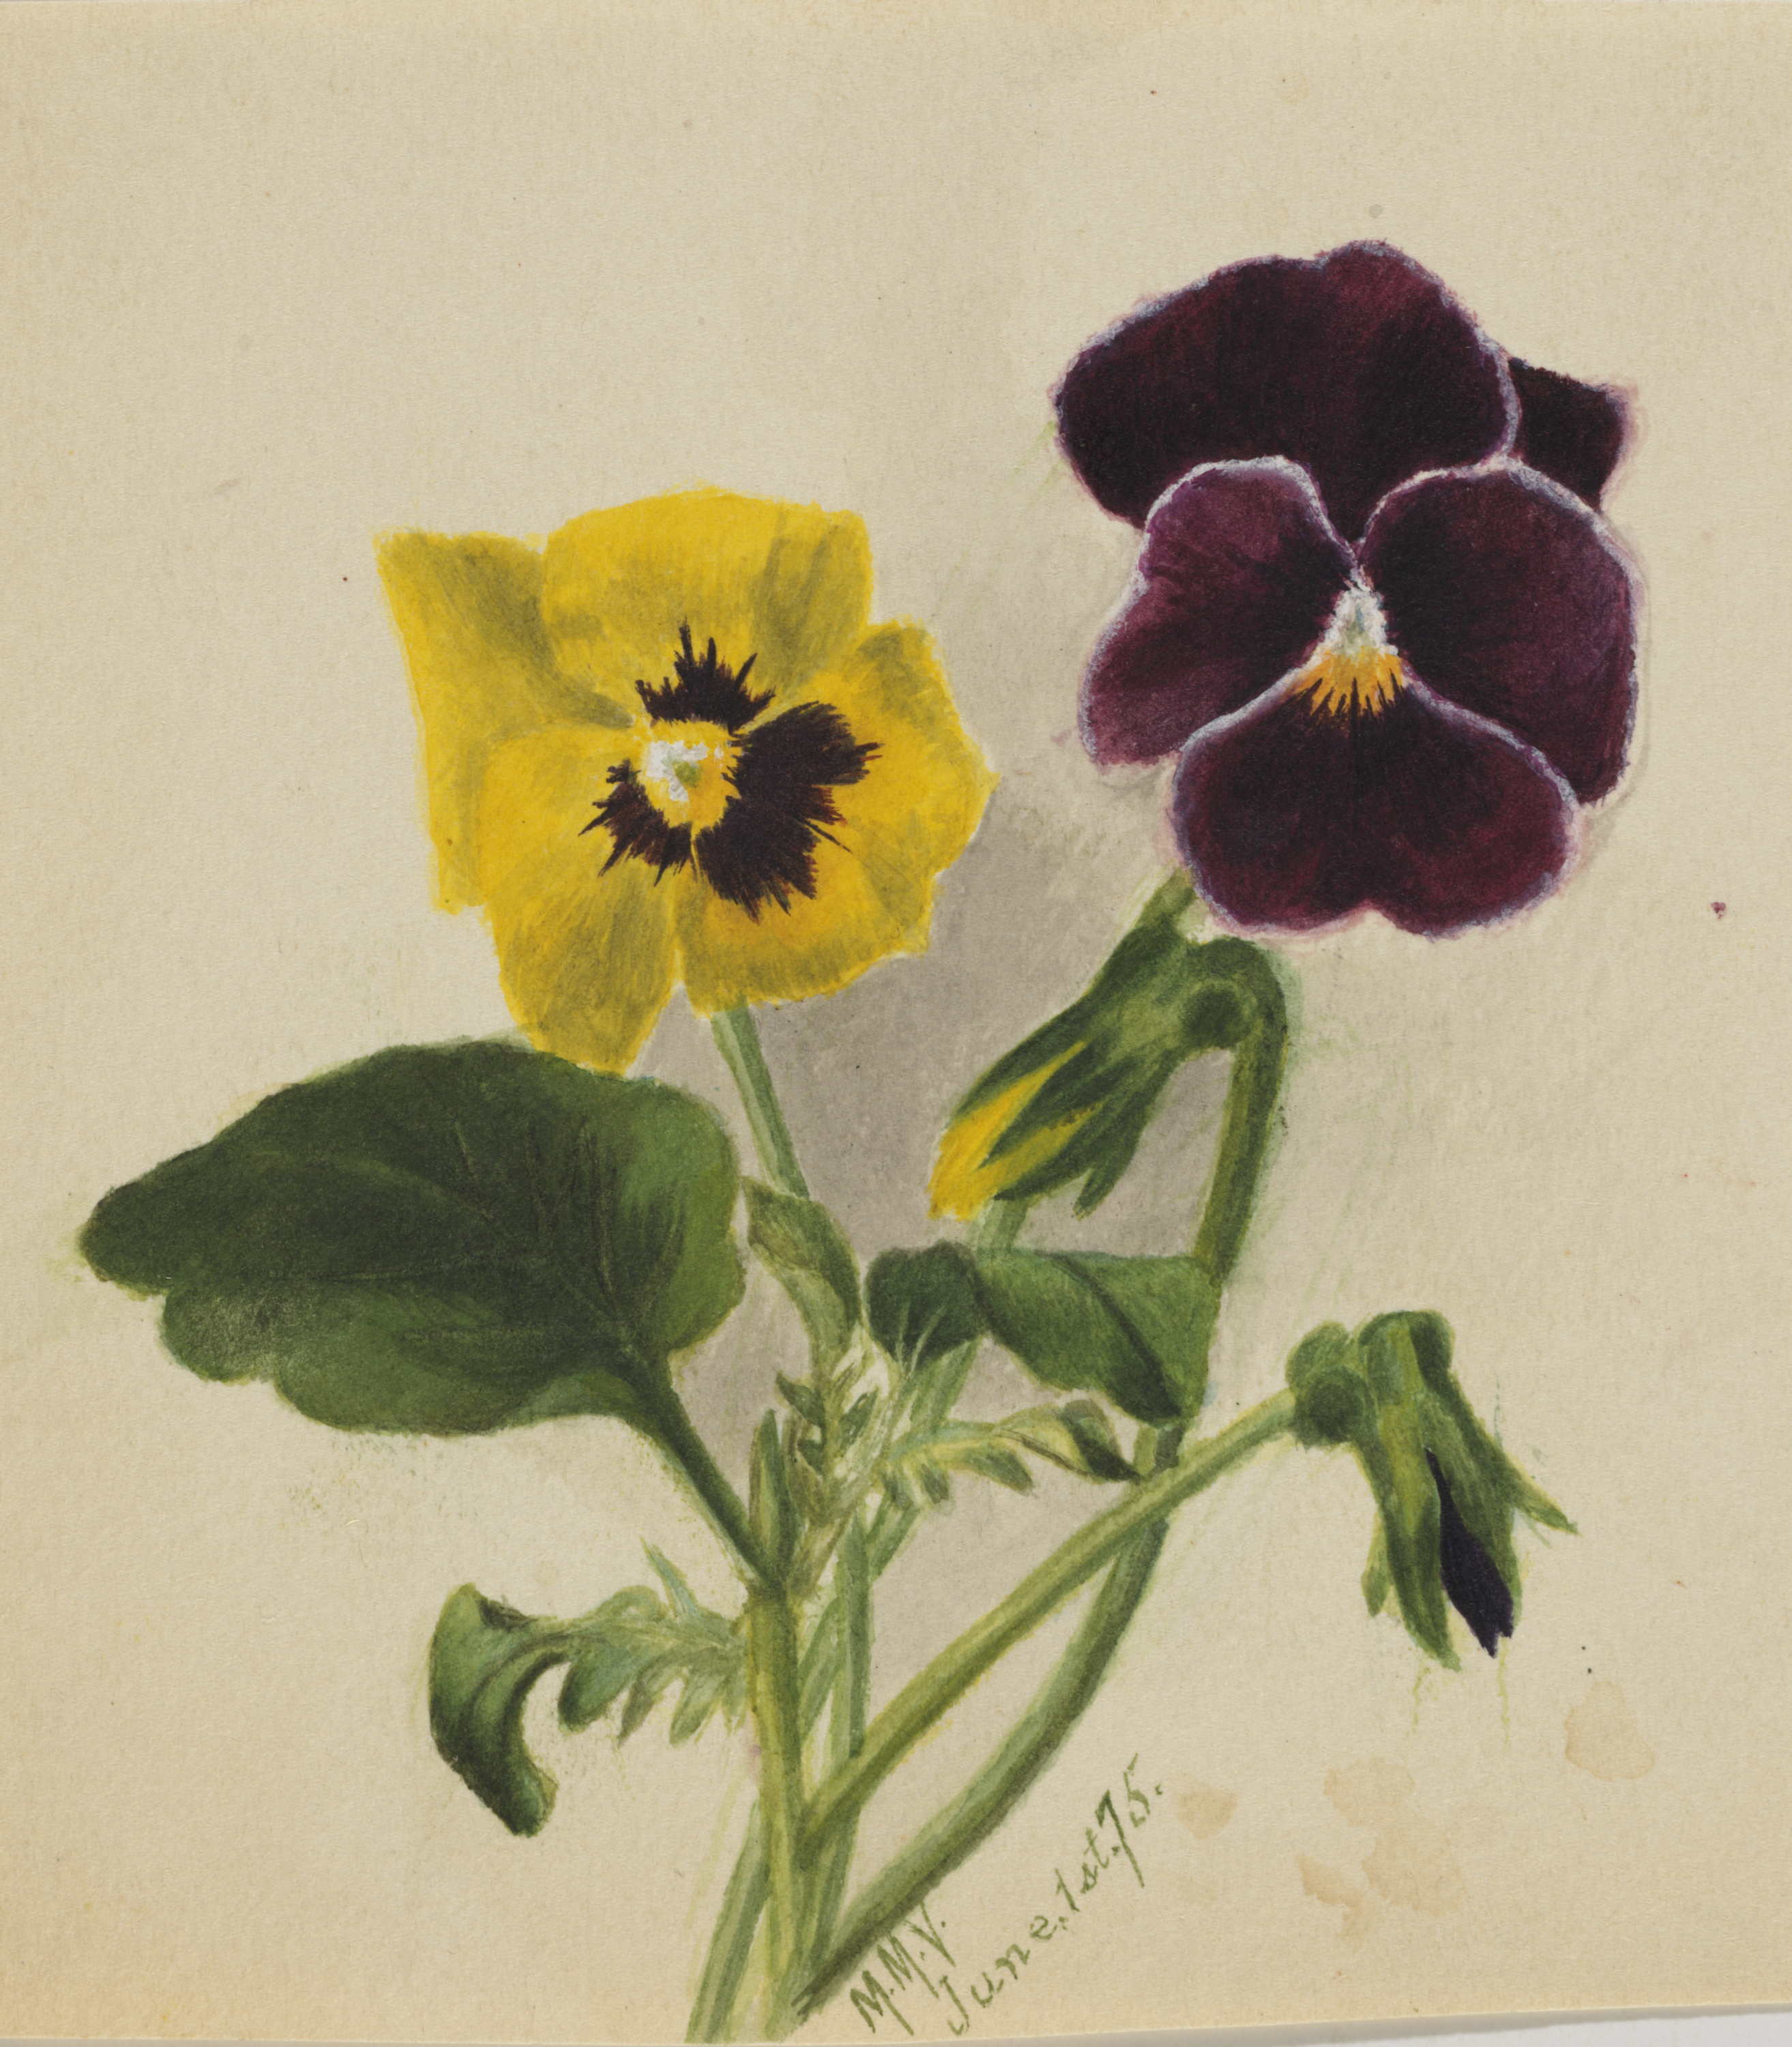
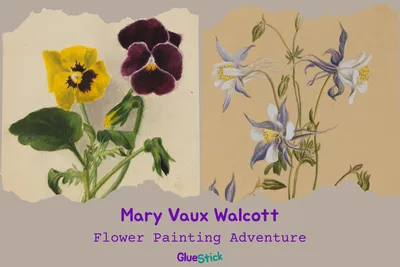
    Like Mary, start with exploring. Look in your yard, on a walk, or around your home. If nothing is blooming outside, a house plant will do! Choose one flower (or leaf) to study. Make sure you have permission to pick any flowers you find (remember, not all parks or neighbors appreciate you picking their flowers). Also, stear clear of any plants that might be irritating to your skin. Ask an adult for help identifying safe plants to use as your specimen. If you can’t pick a real one, that’s okay—use a photo and pretend you’re on an expedition. Image credit: Mary Vaux Walcott, Untitled (Pansies), 1875, watercolor on paper, sheet: 4 1/8 x 3 5/8 in. (10.5 x 9.3 cm), Smithsonian American Art Museum, Gift of the artist, 1970.355.786

    Step 2: Record your field notes

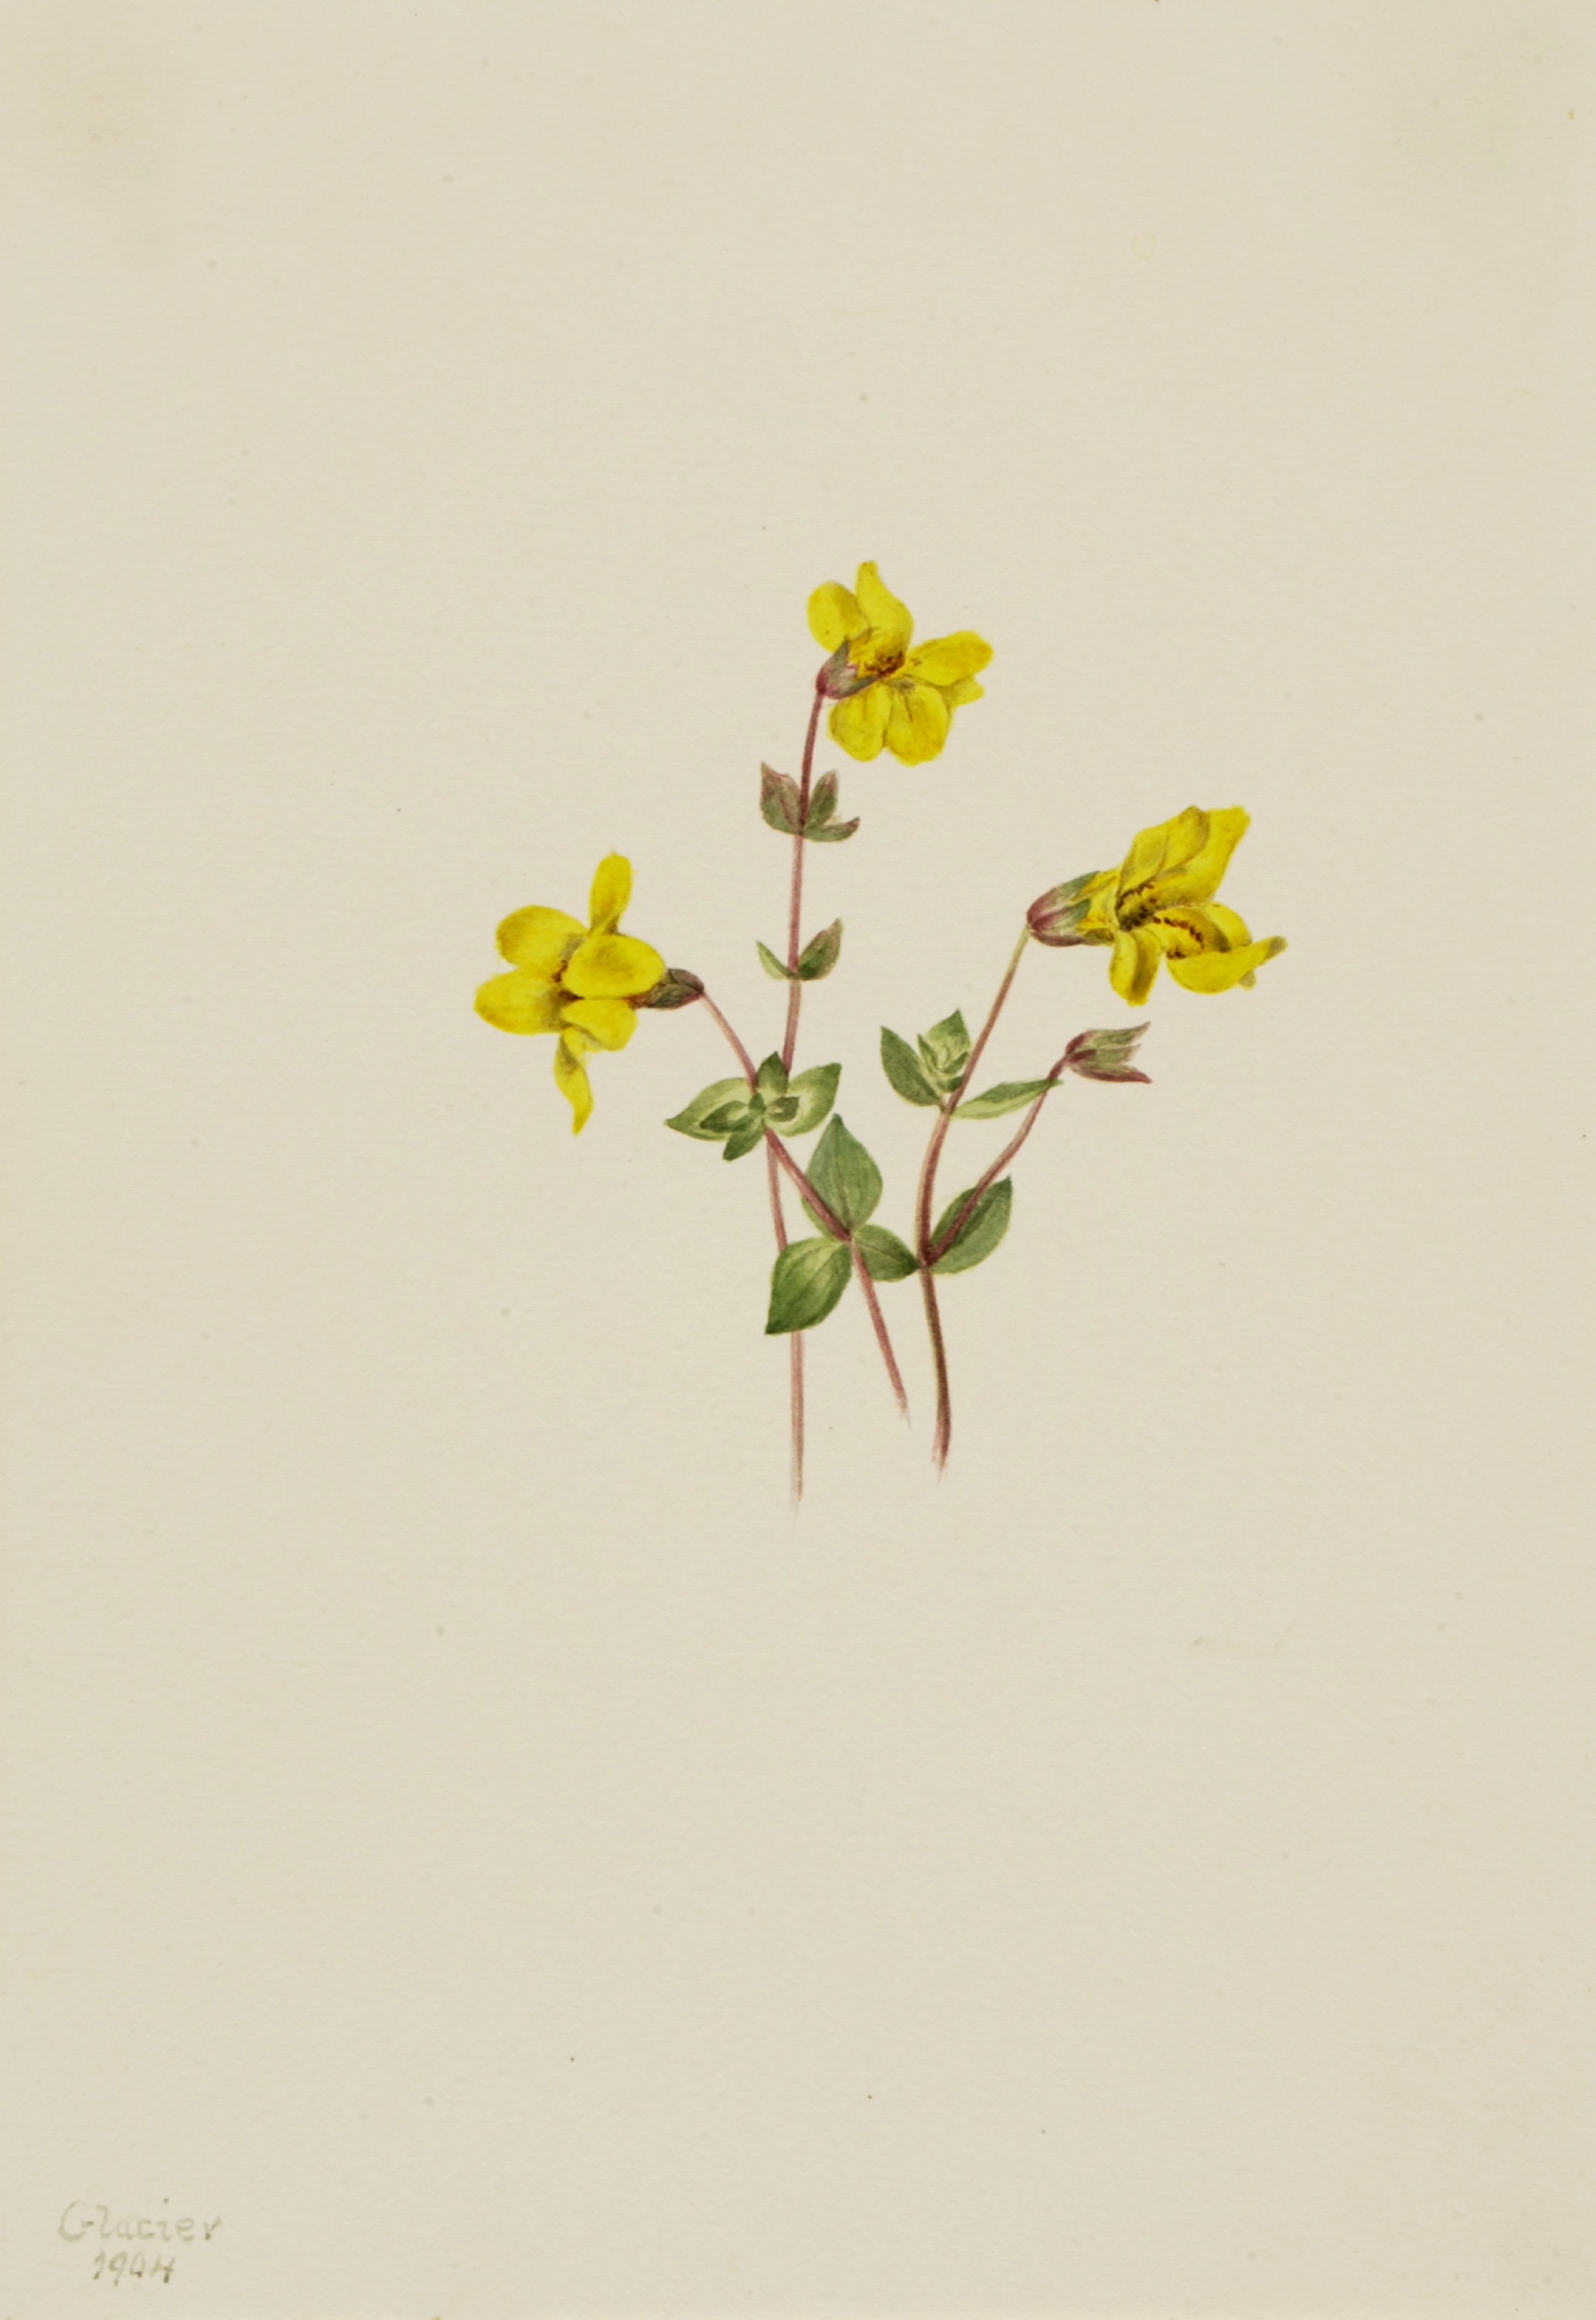
    On your paper, write a few quick notes: - Where did you find it? - What time of year is it? - What colors do you see (name 3)? - How many petals (or other big shapes) are there? Image Credit: Mary Vaux Walcott, Alpine Monkey Flower (Mimulus caespitosus), 1904, watercolor on paper, sheet: 10 1/8 x 6 7/8 in. (25.6 x 17.6 cm), Smithsonian American Art Museum, Gift of the artist, 1970.355.712

    Step 3: Sketch it like a scientist

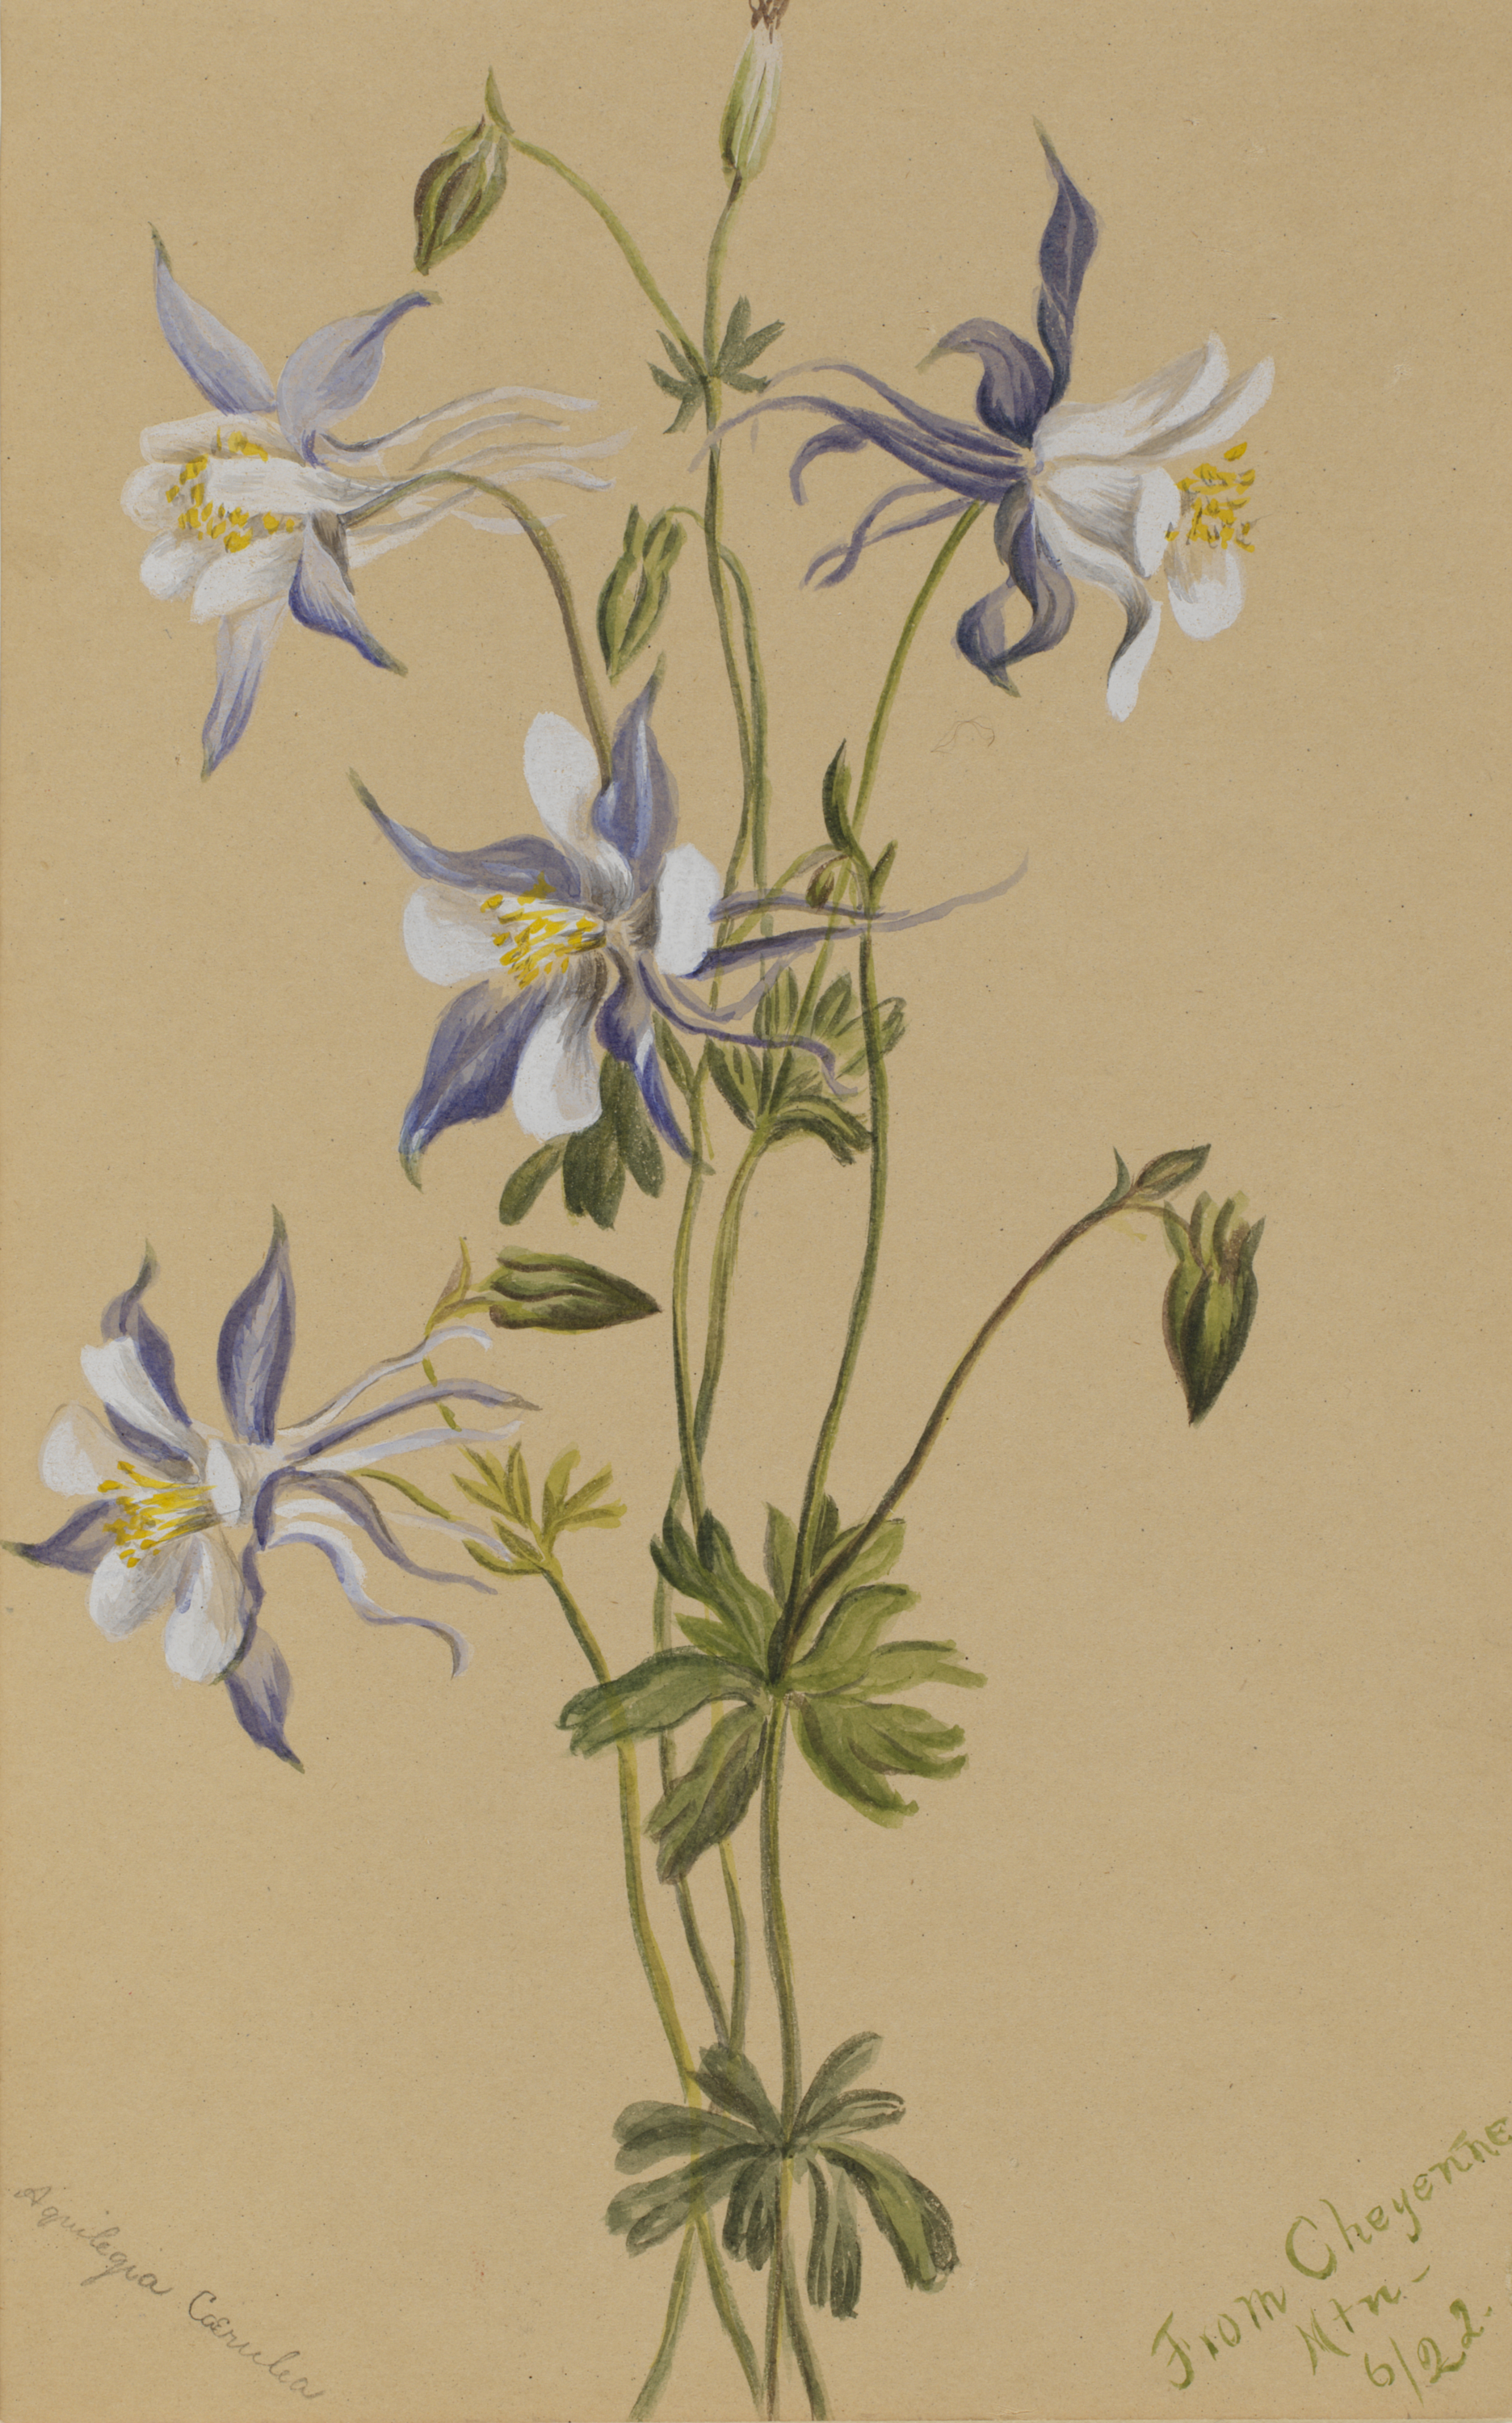
    Draw very lightly. Watercolors struggle to paint over pencil lines. Start with the biggest shapes first (center circle, petal ovals, leaf shapes). Don’t worry about perfect—focus on what you actually see. Mary Vaux Wilcott's paintings were prized because she painted flowers exactly the same size as they were in real life. This attention to detail made them very important to other scientists who wanted to study rare plants. Image Credit: Mary Vaux Walcott, Blue Columbine (Aquilegia caerulea), 1922, watercolor on paper, sheet: 9 1/8 x 5 3/4 in. (23.3 x 14.5 cm), Smithsonian American Art Museum, Gift of the artist, 1970.355.125

    Step 4: Paint your flower

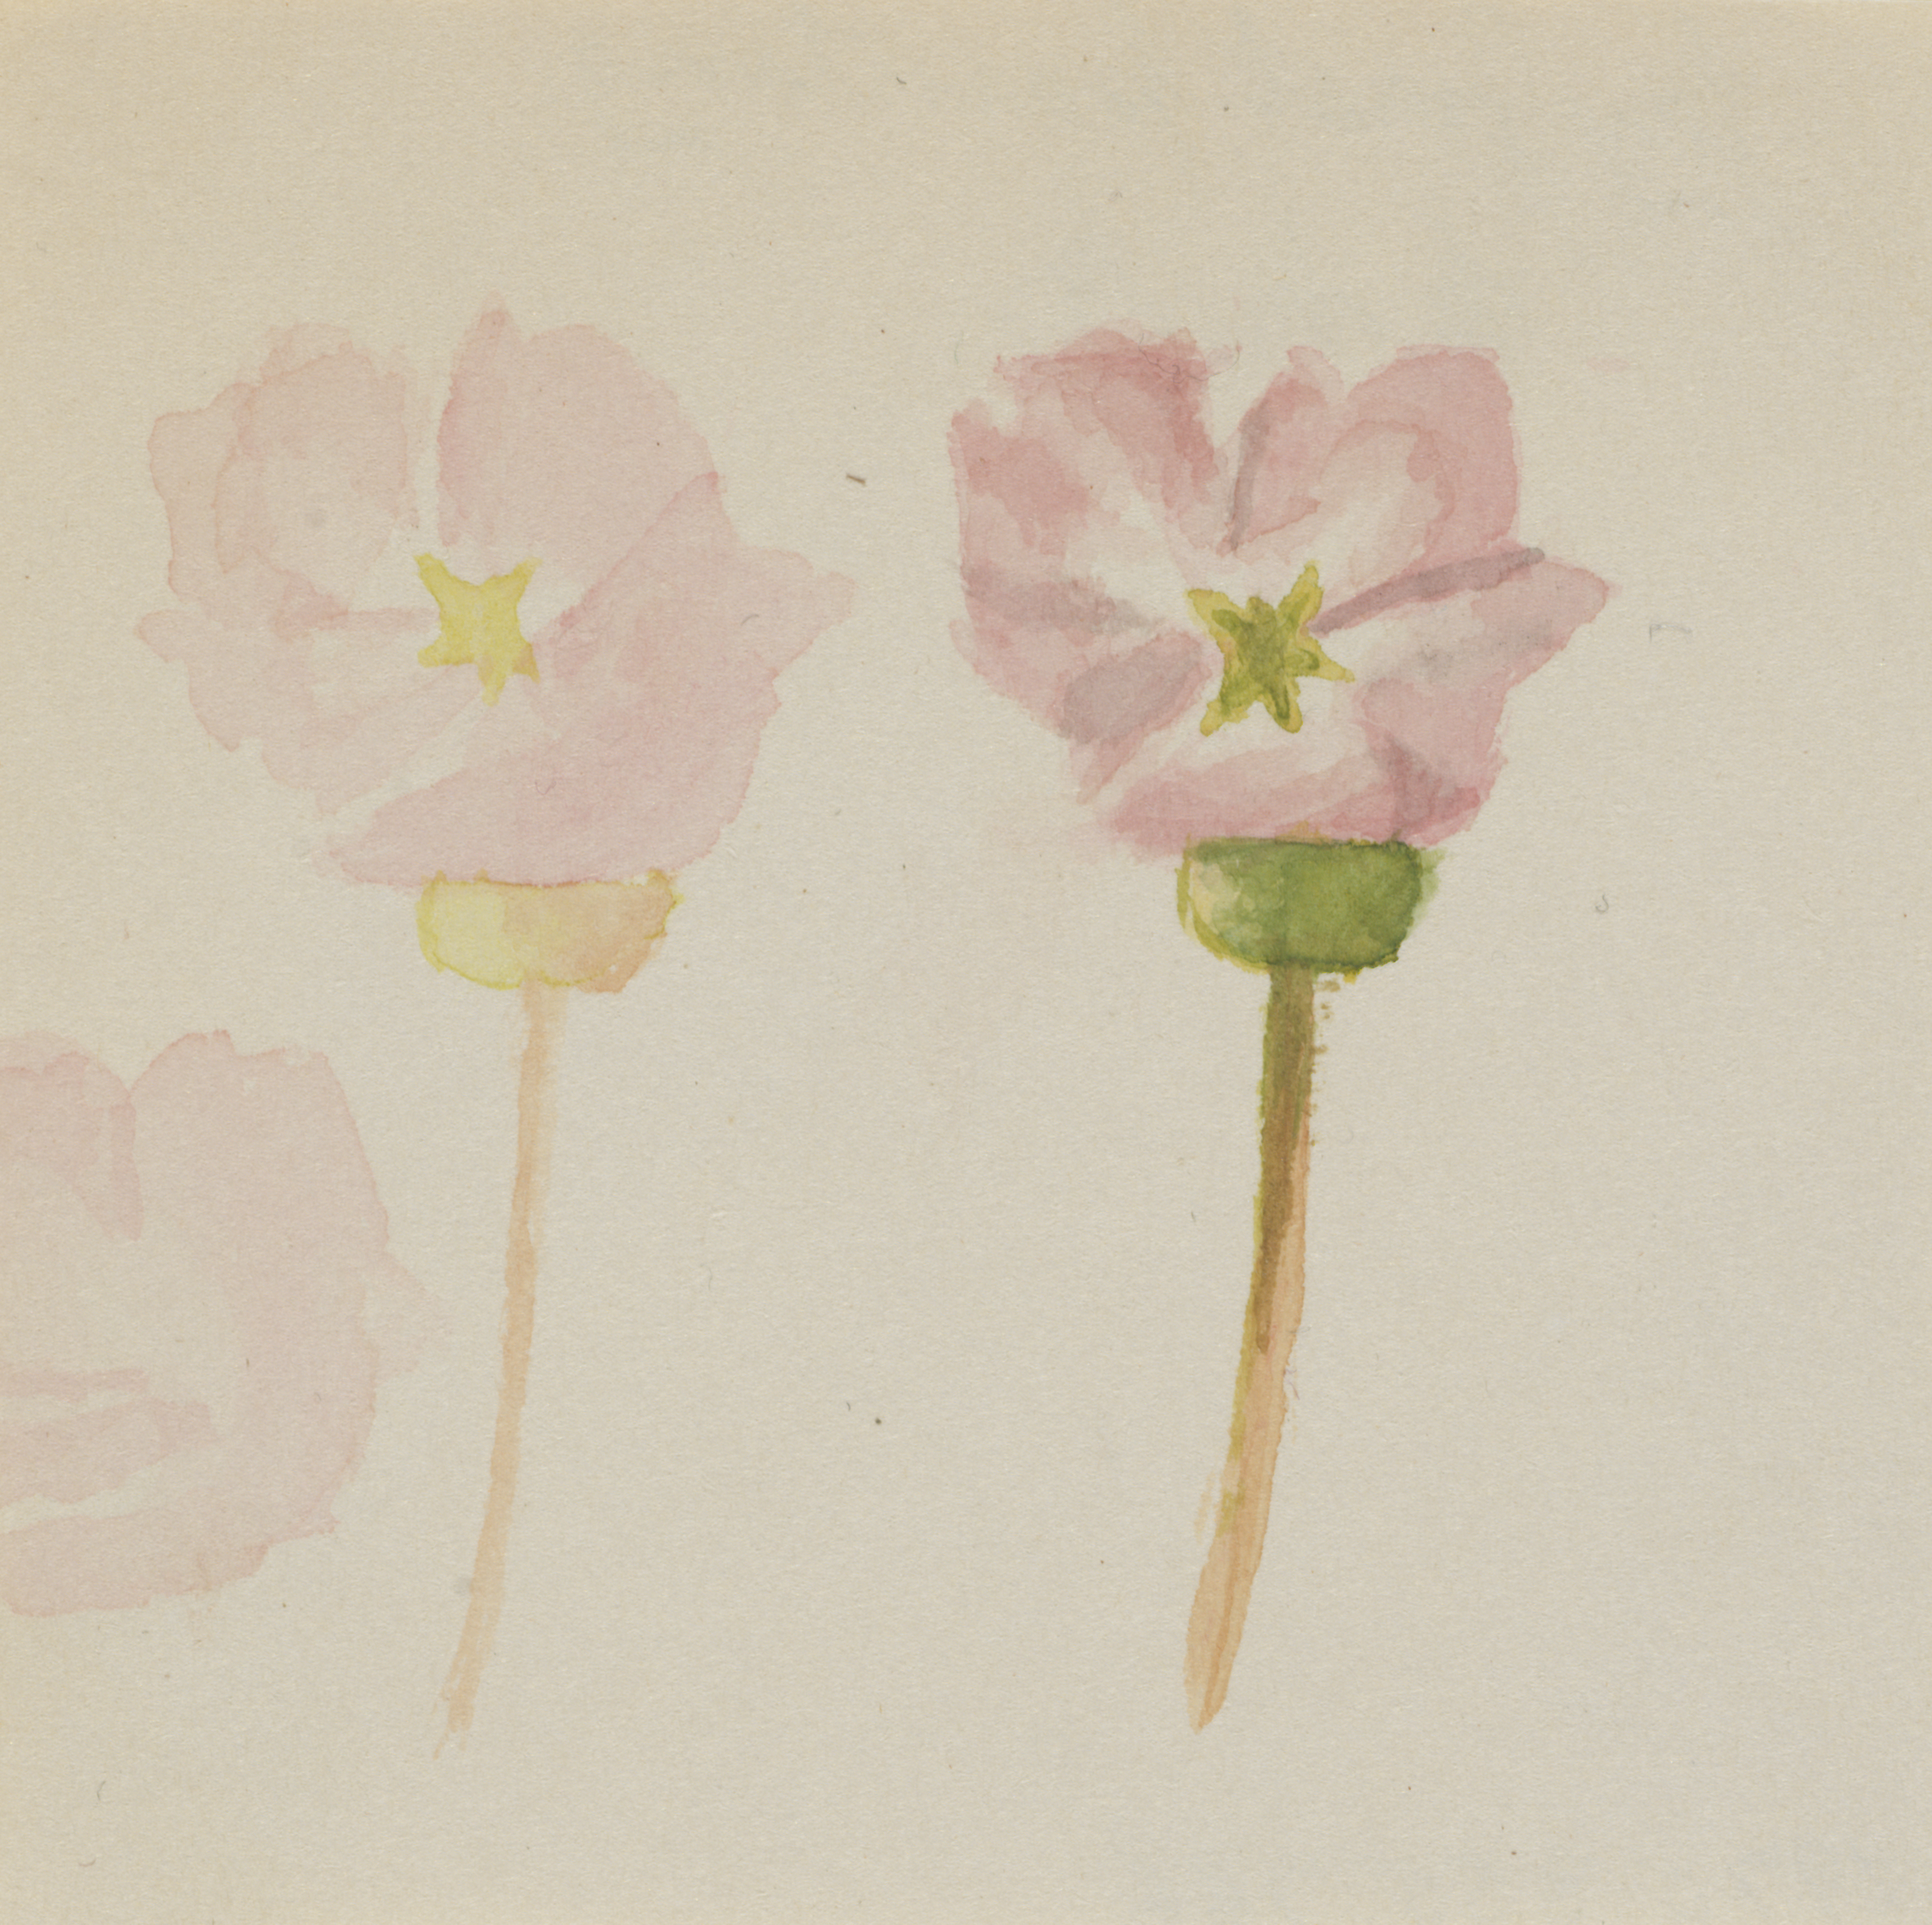
    Mary’s flower studies were meant to be accurate, so start slowly and carefully with the largest shapes first. That said, it's ok if your art doesn't turn out quite as accurate as hers! This picture, "My First Painting," is one of the first flowers that Mary ever painted. It's not nearly as detailed as the other works of hers we've looked at. Start small, and practice often, and someday, you might be able to paint flowers just as detailed as Mary. Here are some tips: - Paint the lightest colors first. - Don't try to paint white. Leave the paper blank instead. This creates a great highlight - where the sun hits the flower - To make it feel more real, darken the center and add shadows where petals overlap - Add a few leaf veins - Add any tiny dots/lines/texture you notice Image Credit: Mary Vaux Walcott, "My First Painting", ca. 1868, watercolor on paper, sheet: 2 3/4 x 2 7/8 in. (7.1 x 7.3 cm), Smithsonian American Art Museum, Gift of the artist, 1970.355.766

    Step 5: Record your field notes

    Mary's drawins included details about the flower and where she found it. Make your painting into a field note by recording: - The flower's name (real name or “Mystery Wildflower”) - Date - Location (yard, park, kitchen table) - Optional: “Weather today: ____” Make lots of drawings and collect them into your own neighborhood flower guide!
  3. 3

    Clean up

    Put things away so your space is tidy for next time.

    Reminder, this project used supplies that may trigger allergies. Store them safely!

    Tidy up our space

    Put away our supplies

    Check off each supply when it is put away — and any clean-up tips underneath are done too. You might find a fun surprise!

    • A cartoon of Pencils
      Where they belong:
    • A cartoon of Fresh Flowers
      Where they belong:
    • A cartoon of Watercolor Paint
      Where they belong:
    • A cartoon of Paper
      Where they belong:

    Update what we have left

    Did we run out of anything while making this project? Update our supply cupboard so that we know exactly what we have for next time.

    This project could unlock 1 creative buddy. Sign in to unlock them.

  4. 4

    Save

    Your creative buddy says:
    "What a fabulous project!"

    Made something awesome? Keep going.

    Your first project is free. Create your free GlueStick account to keep making — and discover projects you can do with the supplies you already have.

Upcycle supplies you already have in a flash

Snap a photo of your recycling bin, junk drawer, or fridge and GlueStick finds projects you can make right now with the supplies you already have — no store trip, no expensive kits, just more creative afternoons together.

+ 350 more
Supply Snap

About the Author