About This Project

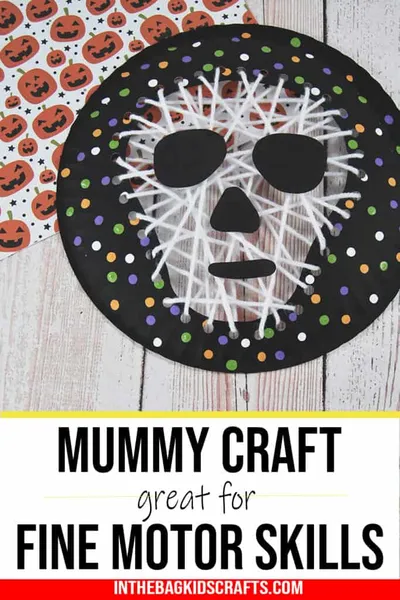
A 15–30 minutes craft for ages 4–8, using supplies you likely already have — Yarn, Hole Punches, and Tape.

GlueStick supports kids from setup to cleanup. After they choose a project, we guide them through gathering the supplies, making it, and cleaning up when they're done. We'll even help them share it safely with trusted family and friends.

Ad-free and kid-safe library — designed by a mom who wants kids to explore and create independently.

This project is perfect for:
Project Tags
  1. 1

    Find Supplies

    Do you have everything you need?
    Create a free GlueStick account to track supplies and see if you have what you need at a glance. Leave your kids tips about where supplies are stored in your household so they can set up and clean up their creative spaces independently.
    00:00
    A cartoon of Yarn
    Unknown cupboard quantity You have: unknown
    A cartoon of Hole Punches
    Unknown cupboard quantity You have: unknown
    A cartoon of Tape
    Unknown cupboard quantity You have: unknown
    A cartoon of Scissors
    Unknown cupboard quantity You have: unknown
    A cartoon of Pencils
    Unknown cupboard quantity You have: unknown
    A cartoon of Disposable Plates
    Unknown cupboard quantity You have: unknown
    A cartoon of Googly Eyes
    Unknown cupboard quantity You have: unknown
    A cartoon of Markers
    Unknown cupboard quantity You have: unknown
    A cartoon of Construction Paper
    Unknown cupboard quantity You have: unknown
    A cartoon of Glue Sticks
    Unknown cupboard quantity You have: unknown
  2. 2

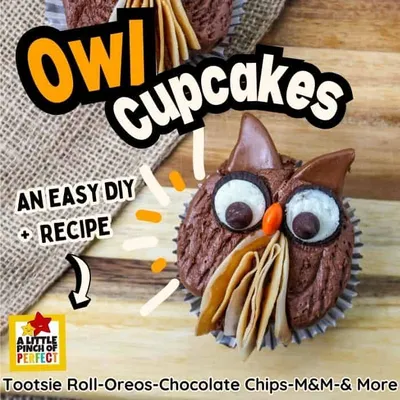
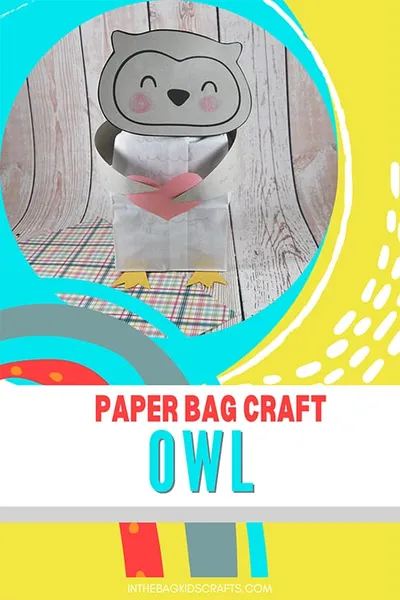
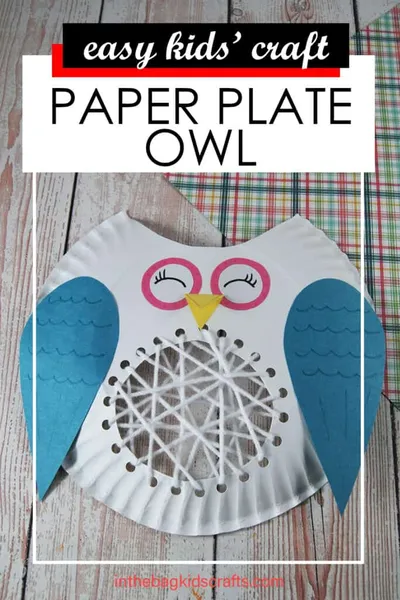
    Make Paper Plate Owl Craft

    Your creative buddy says:
    "Let's stick together and make this one!"

    Step 1: Cut out your owl's shape.

    Fold a paper plate in half. Ask a grown-up to help you draw a half-circle shape at the very top for the owl's horns. Then, draw another half-circle shape just below the middle for the owl's belly. Carefully cut out these shapes.

    Step 2: Make holes for lacing.

    Use your hole punch to make holes all around the edge of the belly circle you just cut out. Try to keep the holes close together.

    Step 3: Lace the owl's belly.

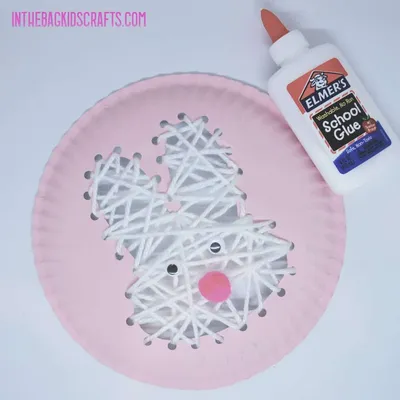
    Get a piece of white yarn about as long as your arm, or measure 1 yard. Turn your paper plate over so the bottom is facing up. Push one end of the yarn through one of the holes you punched. Ask a grown-up to help you tape the end of the yarn to the back of the plate so it stays. Now, weave the yarn in and out of the holes, going back and forth, until the whole belly circle is covered. When you run out of yarn, tape the end to the back and cut off any extra. If your yarn unravels as you lace it through the holes, try wrapping the end in tape to make a "needle."

    Step 4: Cut out owl parts from paper.

    May need grown-up help
    You can use an owl craft template to help you cut out shapes for your owl's wings, beak, and eyes from colorful construction paper. If you don't have a template, you can draw two big teardrop shapes for wings, a triangle for a beak, two big circles for the outside of the eyes, and two smaller white circles for the inside of the eyes.

    Step 5: Make your owl's face.

    If you made paper eyes, glue the smaller white circles onto the bigger circles. Use your markers to draw pupils in the eyes, or make them look sleepy! You can also use markers to add patterns or colors to the wings and beak.

    Step 6: Assemble your owl.

    Use your glue stick to attach all the pieces to your paper plate owl. First, glue the wings onto the sides of the plate. Then, glue the eyes close together on the top part of the plate. Finally, glue the beak just below or a little bit over the eyes. Now your owl is ready!
  3. 3

    Clean up

    Put things away so your space is tidy for next time.

    Tidy up our space

    Put away our supplies

    Check off each supply when it is put away — and any clean-up tips underneath are done too. You might find a fun surprise!

    • A cartoon of Yarn
      Where they belong:
    • A cartoon of Tape
      Where they belong:
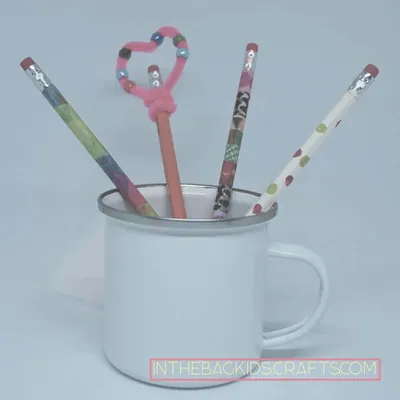
    • A cartoon of Pencils
      Where they belong:
    • A cartoon of Disposable Plates
      Where they belong:
      • — Don't forget! Disposable plates may be compostable or recyclable! Do your part to keep trash out of the landfill.
    • A cartoon of Googly Eyes
      Where they belong:
    • A cartoon of Markers
      Where they belong:
      • — Don't forget! Close all marker caps tightly.
    • A cartoon of Construction Paper
      Where they belong:
    • A cartoon of Glue Sticks
      Where they belong:
      • — Don't forget! Put cap on glue sticks tightly.
    • A cartoon of Hole Punches
      Where they belong:
    • A cartoon of Scissors
      Where they belong:

    Update what we have left

    Did we run out of anything while making this project? Update our supply cupboard so that we know exactly what we have for next time.
  4. 4

    Celebrate

    Your creative buddy says:
    "Great job!"

    Made something awesome? Keep going.

    Your first project is free. Create your free GlueStick account to keep making — and discover projects you can do with the supplies you already have.

Upcycle supplies you already have in a flash

Snap a photo of your recycling bin, junk drawer, or fridge and GlueStick finds projects you can make right now with the supplies you already have — no store trip, no expensive kits, just more creative afternoons together.

+ 350 more
Supply Snap

About the Author

Last updated